Select a topic below. Instructions apply to all VAA programs unless noted otherwise.
Quick start
1Open VAA from the link inside your course. It must launch in a new tab.
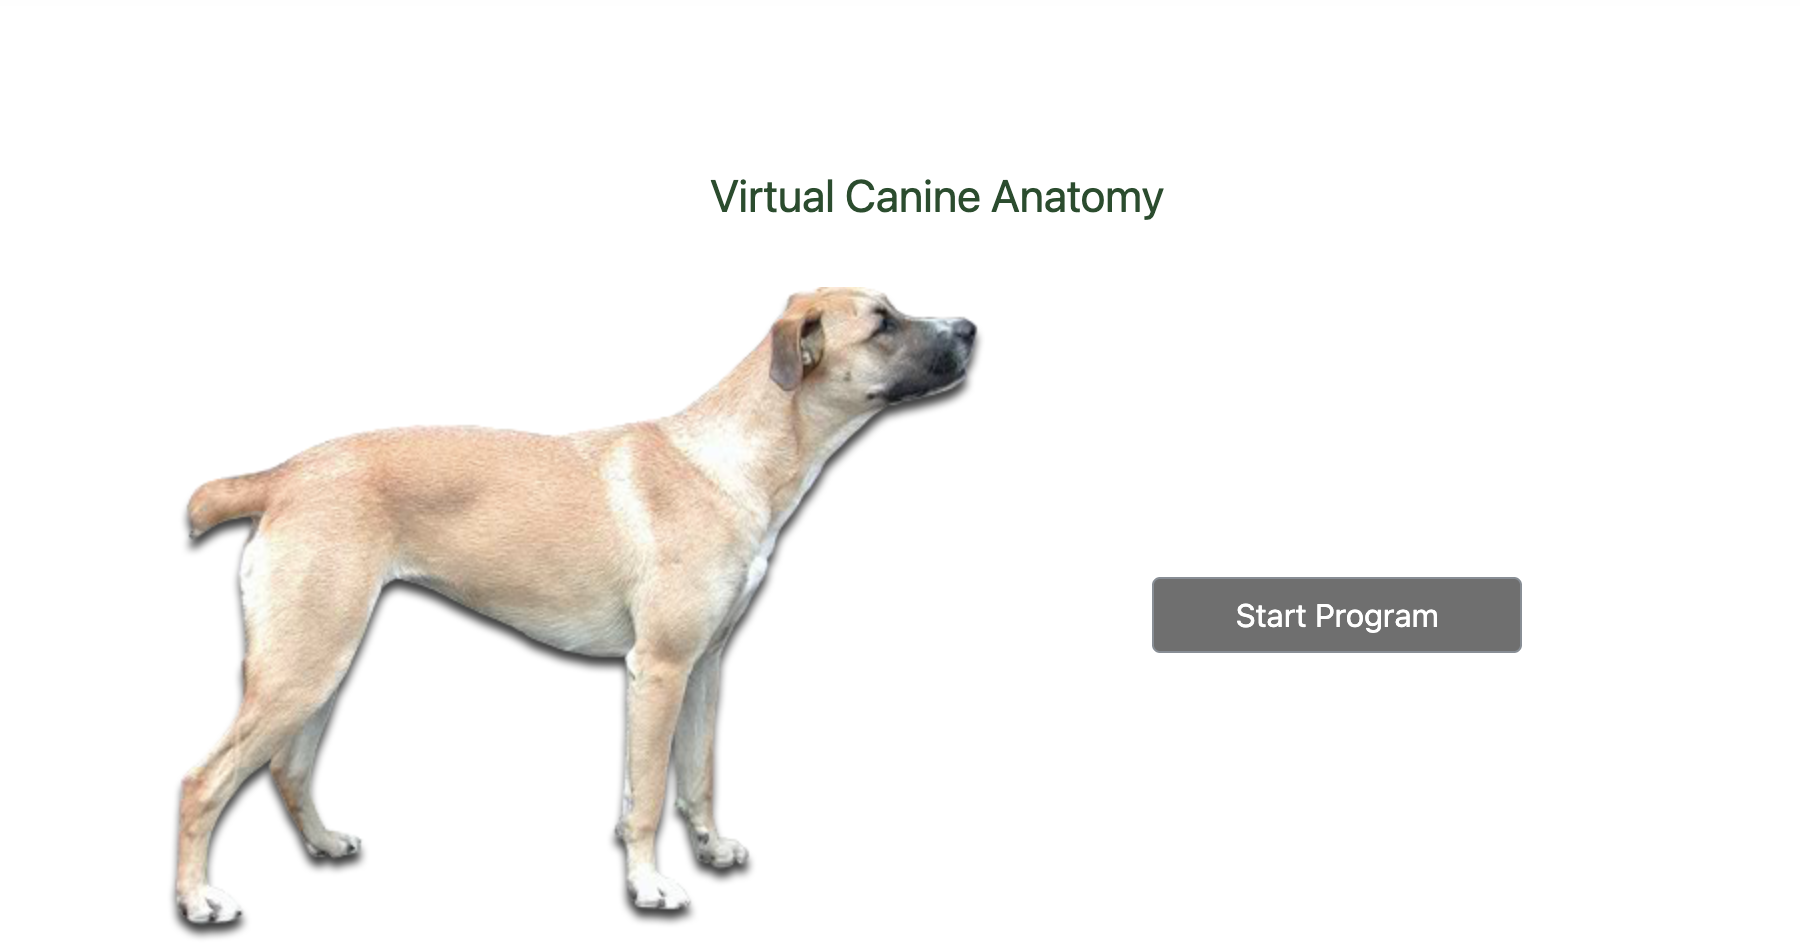
2Click Start Program on the splash screen to reach the Navigation Page.
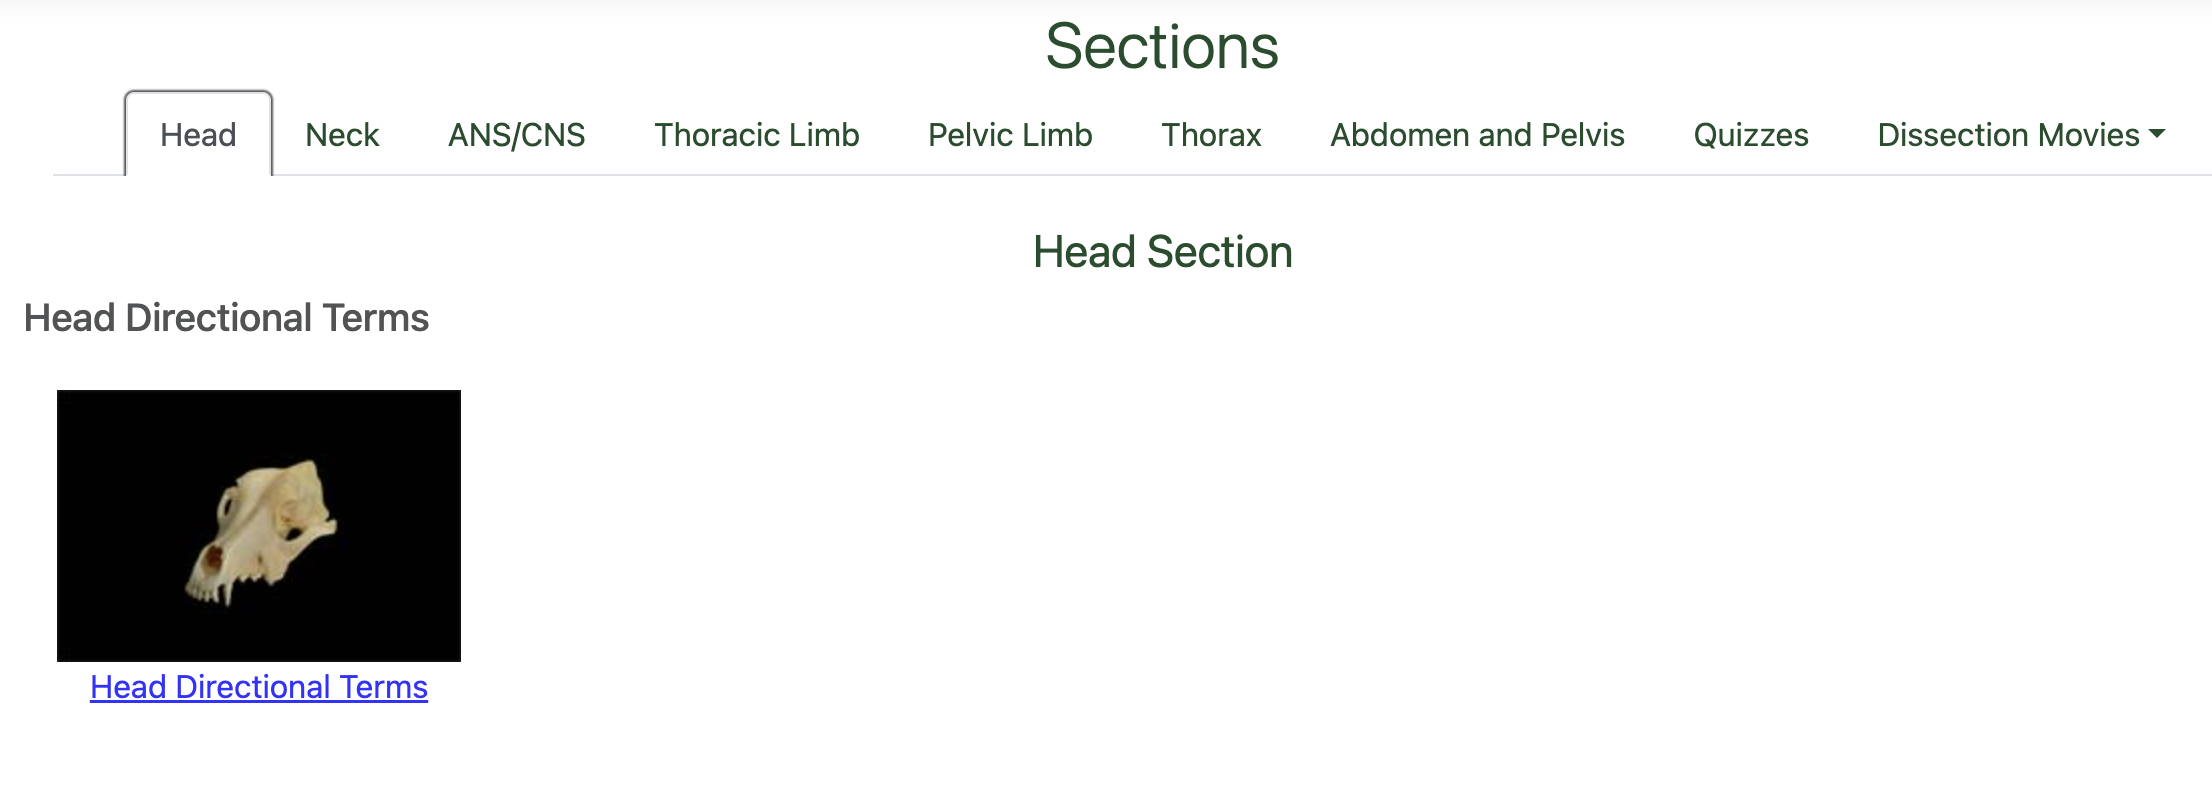
3Choose an anatomical section tab, then click a thumbnail to open a Structure Selection Page.
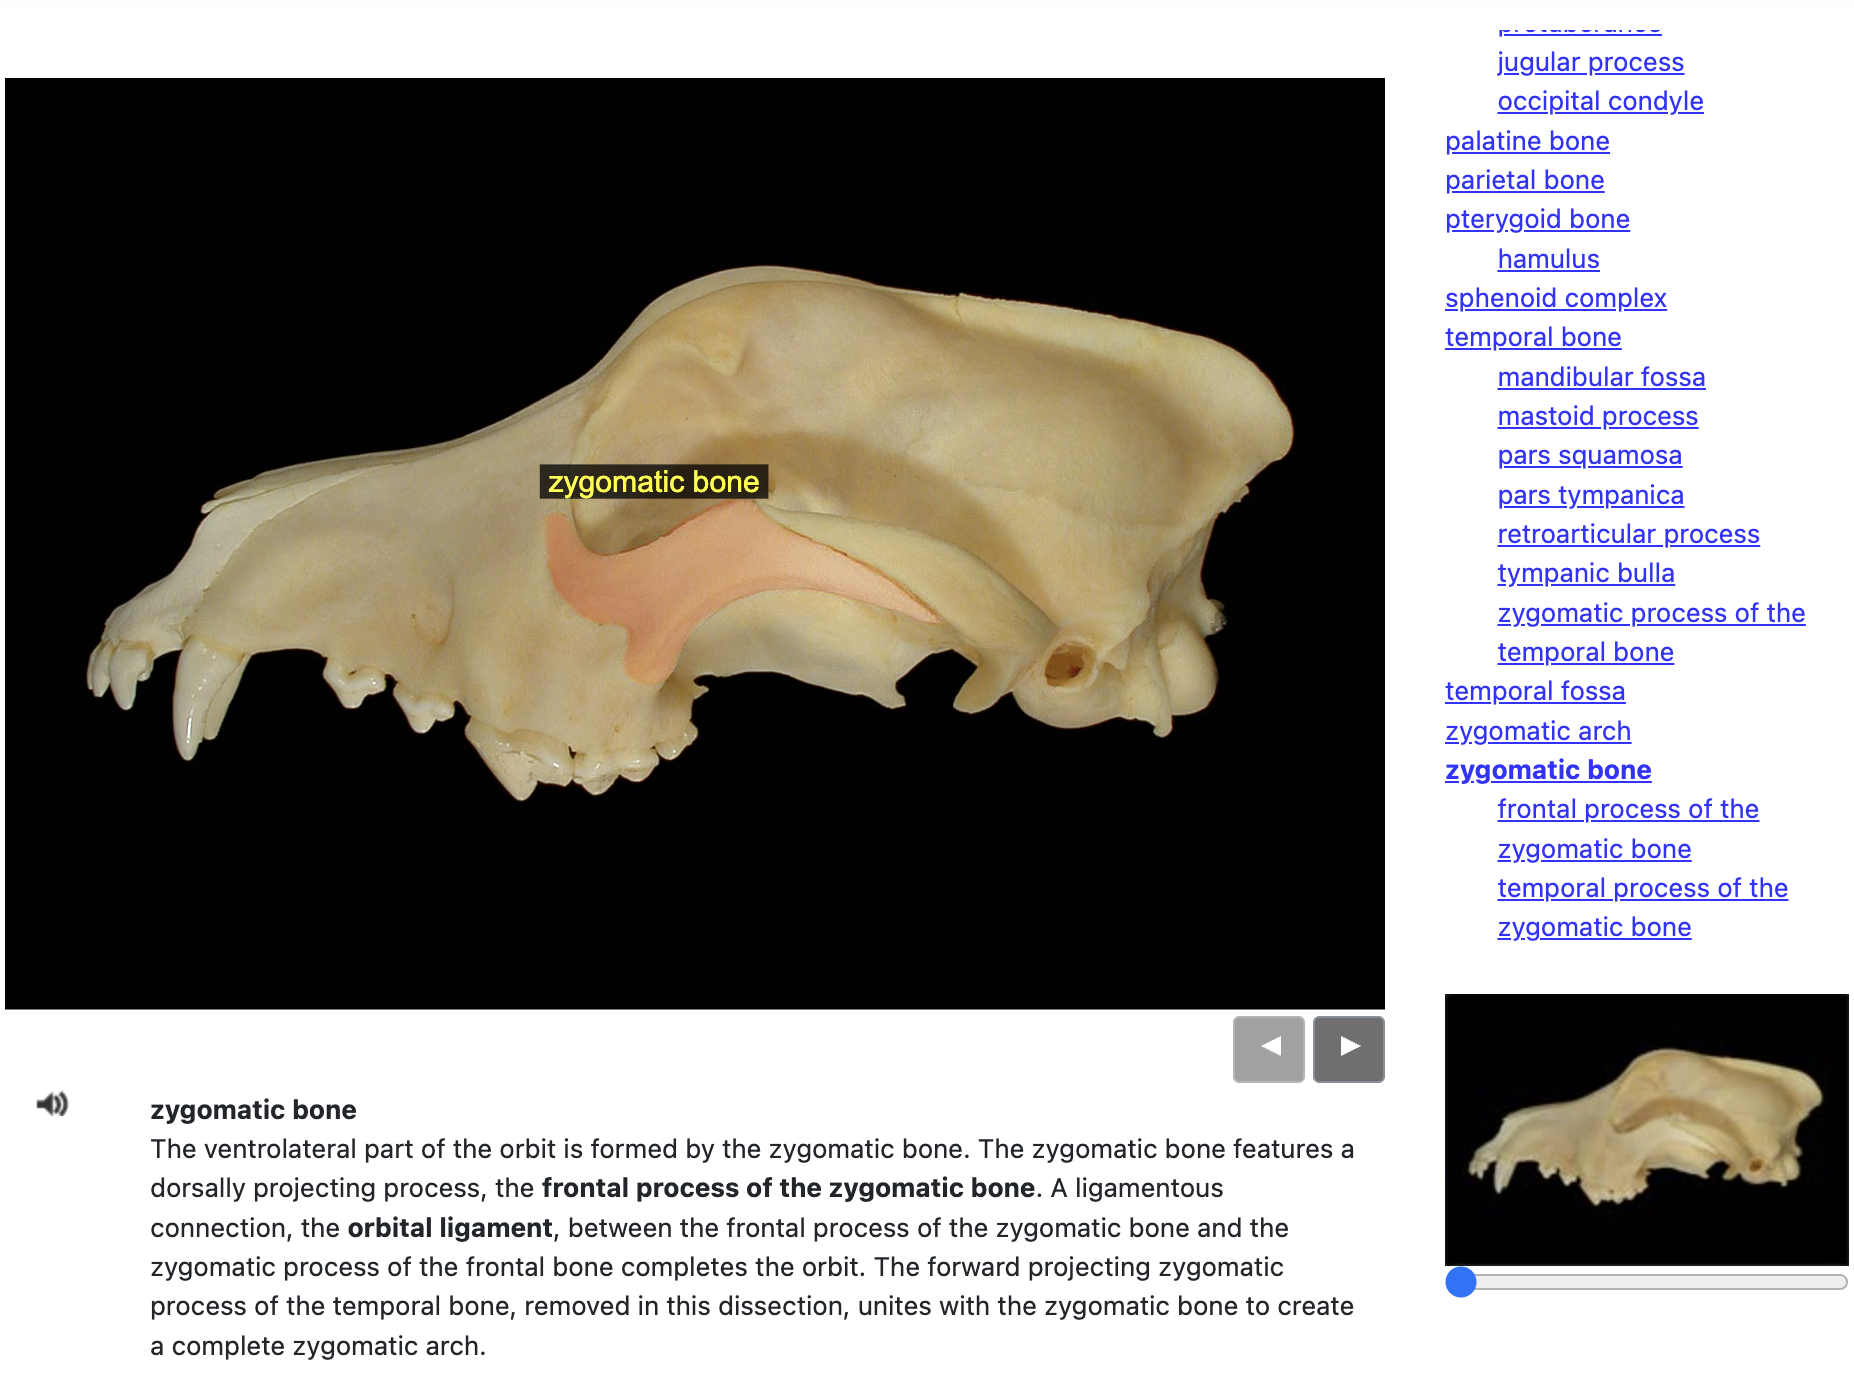
4Click any structure name, or click directly on the image, to see its overlay and description.
5Test your recall any time from the Quizzes tab on the Navigation Page.
Getting Started
GoalBy the end of this section, you'll be able to launch VAA from your LMS and switch between the four anatomy programs.
VAA runs in your browser. No installation is required. Use Chrome, Safari, Edge, or Firefox for the best experience. This guide uses VCA screenshots; all other programs work the same way.
Browser-based
Works on Windows and Mac. There is no software to install. Open the program from your LMS and it launches in a new browser tab.
Four species
Switch between Canine (VCA), Equine (VEA), Feline (VFA), and Bovine (VBA) from the splash screen or any navigation page.
Audio pronunciation
Click the speaker icon next to any anatomical term to hear correct Latin pronunciation. Available throughout VCA.
Program-wide search
Use the search bar in the top-right corner to jump directly to any structure, no matter where it appears in the program.
Starting the program
1
Open from your LMS
Click the Virtual Animal Anatomy link inside your course to launch the program.
2
Splash screen
You'll see the splash screen with development credits at the bottom. Click Start Program to proceed to the navigation page.
The VCA4 splash screen. Click Start Program to continue.
3
Switch anatomy programs
To switch between Canine, Equine, Feline, or Bovine anatomy, click Change Anatomy Program in the top-right corner of the splash screen or navigation page.
The Change Anatomy Program button, top-right corner.
Navigation
GoalBy the end of this section, you'll know how to move between anatomical sections and open a specific region.
After starting the program you'll land on the Navigation Page. This is your home base. It gives you access to every anatomical section, region, and quiz in the program.
The Navigation Page, with section tabs across the top and a region thumbnail.
Anatomical sections
Tabs across the top of the navigation page represent each major anatomical section. VCA includes:
Head & Neck
Skull osteology, directional terms, muscles, nerves, vessels, and the larynx.
ANS / CNS
Autonomic and central nervous system structures with detailed overlays.
Thoracic & Pelvic Limbs
Long bones, joints, muscles with origin/insertion, and dissection sequences.
Thorax, Abdomen & Pelvis
Organs, vasculature, and dissection layers for trunk regions.
Selecting a region
Click any section tab to see thumbnail images of its anatomical regions grouped by category (Directional Terms, Osteology, Dissection, Radiology, Surface Anatomy). Click a thumbnail to open its Structure Selection Page.
Structures
GoalBy the end of this section, you'll be able to highlight structures, read their descriptions, and use the navigation bar and zoom controls.
The Structure Selection Page is where you'll spend most of your time. It displays a large specimen image alongside a full list of labeled structures, with text descriptions and pronunciation audio for each.
The Structure Selection Page: specimen image, structure list, and description.
Structure list & overlays
Click any structure name
The structure list appears to the right of the main image. Clicking a name highlights that structure with a color overlay on the specimen image and displays its anatomical description below.
Click directly on the image
You can also click anywhere on the specimen image to identify and highlight the nearest labeled structure. The structure name and description will update automatically.
Read the description & listen to pronunciation
The anatomical description appears in the textbox below the image. Click the speaker icon next to the term to hear its pronunciation.
Click the speaker icon to hear the term pronounced.
Understanding overlay colors
Each overlay color indicates the tissue type of the selected structure. Use this as a quick reference, not something to memorize.
Muscles, tendons, and organs
Bones
Nerves
Arteries
Veins
Glands, lymph nodes, and ducts
Foramina and passageways
Selecting a specific sub-feature, like the temporal process of the zygomatic bone, adds a second overlay color on top of the first. The pairing follows the same tissue-type logic above, so you don't need to memorize a separate list.
Zooming into images
To zoom into the main specimen image on the Structure Selection Page:
1
Find the zoom slider
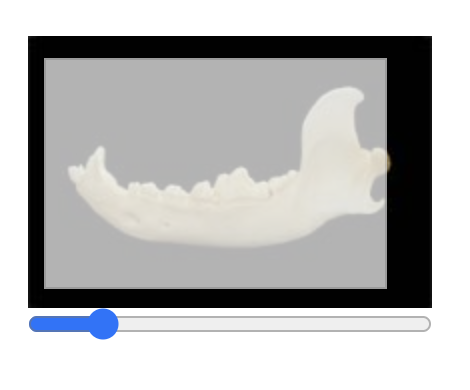
The zoom slider is located below the small thumbnail image at the lower-right of the screen.
The zoom slider and boundary box, below the thumbnail image.
2
Drag the slider to zoom
A white boundary box appears on the thumbnail, showing the area now visible in the main image.
3
Move the zoom box
Click and drag the white box on the thumbnail to pan around the zoomed view.
Navigation bar controls
The navigation bar appears at the top of every Structure Selection Page.
Home
Returns you to the main Navigation Page so you can access any other anatomical region.
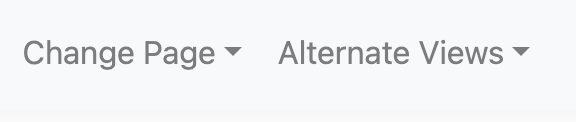
Change Page
A drop-down that lets you jump to any dissection layer or image in the current sequence. You can also step through pages using the gray arrow buttons below the main image.
Change Page and Alternate Views in the navigation bar (left), and the gray arrow buttons below the main image that do the same thing (right).
Alternate Views
Access different viewing angles (cranial, caudal, dorsal, ventral) as well as alternate dissections and miscellaneous overlays. Also contains the Rotate Specimen button.
Search bar
Type any structure name to find every page in the program where it appears. Click a result to jump directly to that page with the structure already highlighted.
Settings
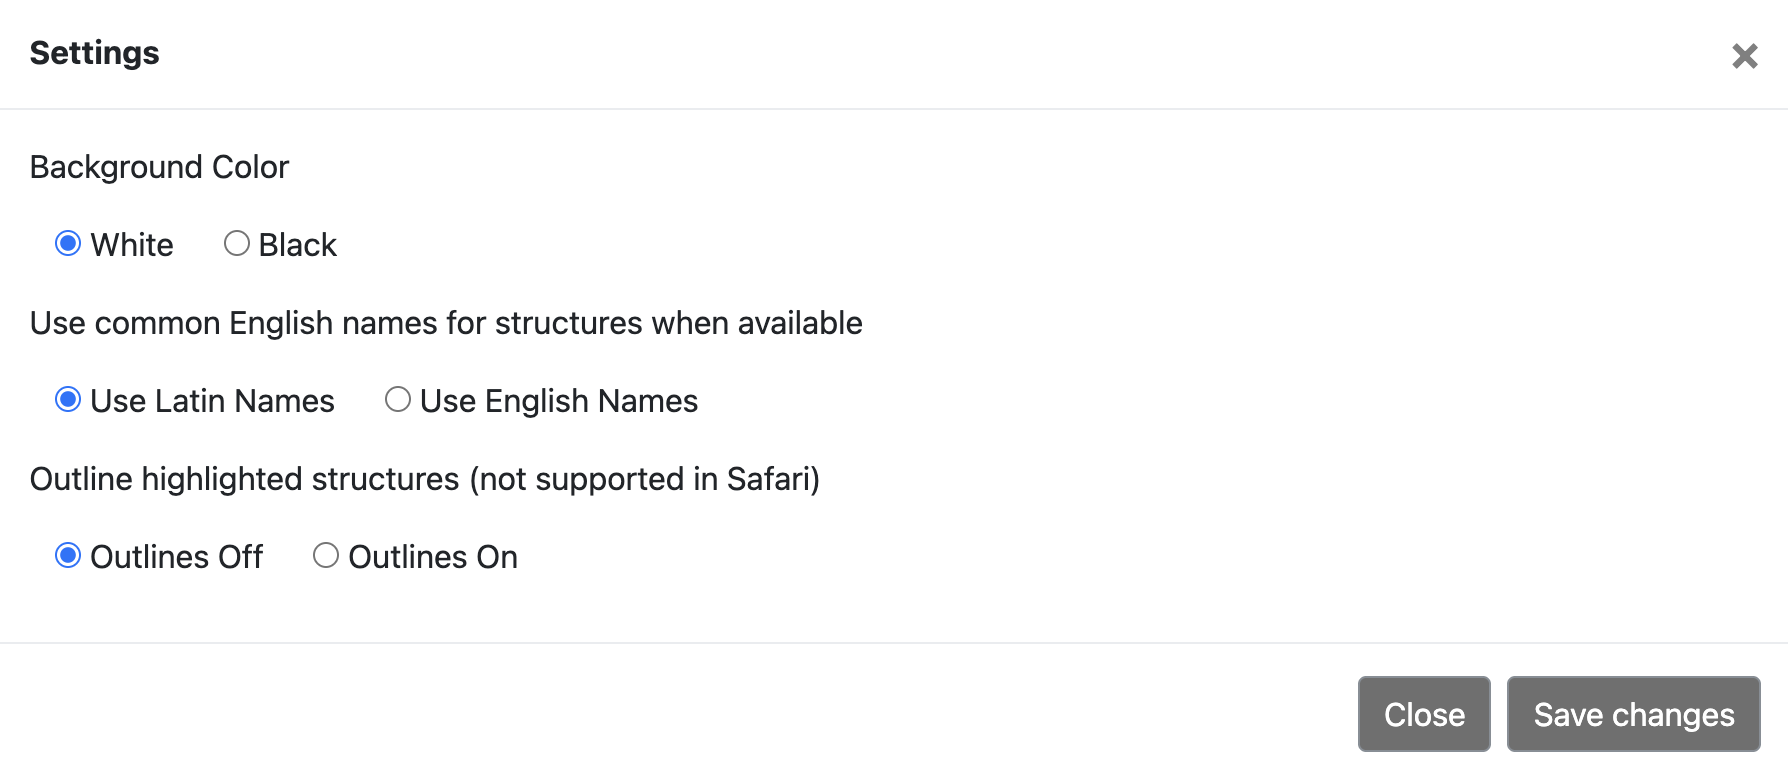
Click the gear icon next to the search field to open the Settings panel. Here you can:
The Settings gear sits next to the search field in the top-right corner.
Background color
Switch between a white or black background.
Structure naming
Toggle between Latin names (default, following Nomina anatomica veterinaria, 6th ed. 2017) and common English names where available.
Outline highlighted structures
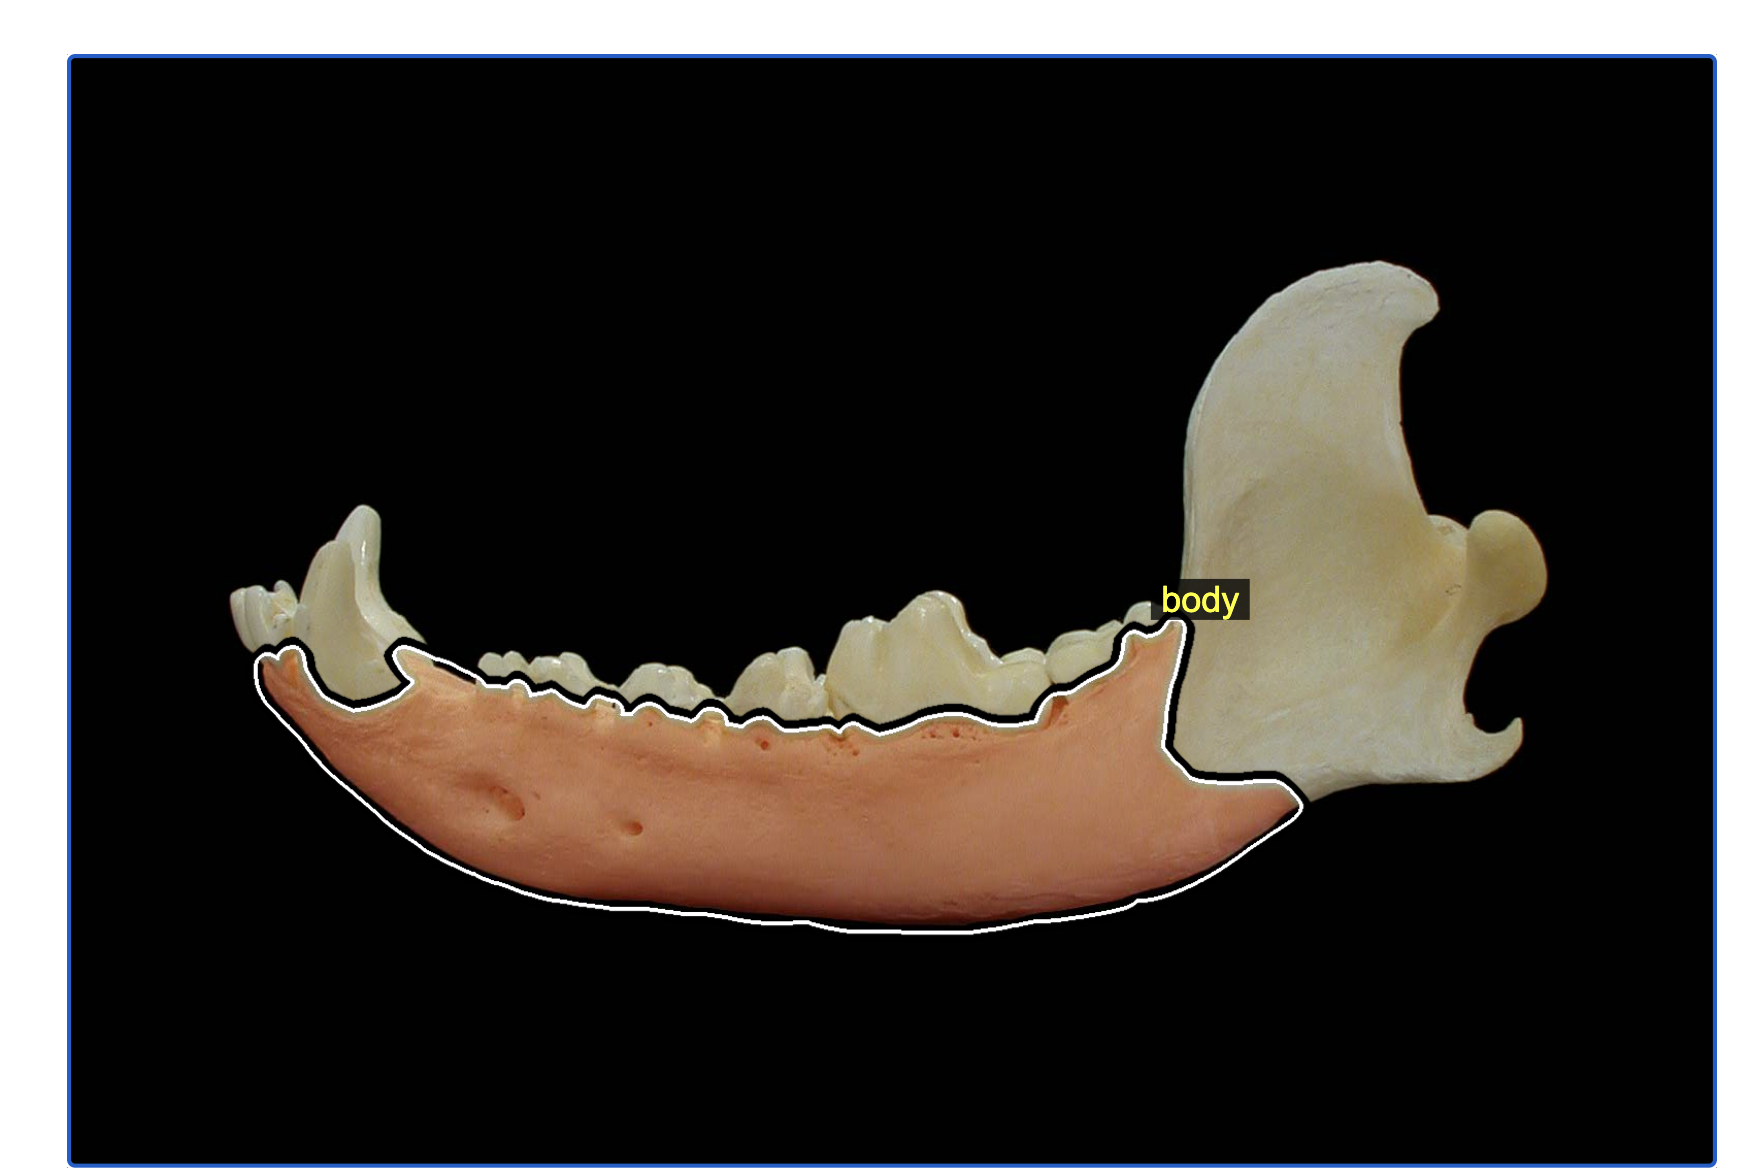
Turn on Outlines On to add a white-and-black outline around the selected structure, in addition to its color overlay. This makes the highlighted area easier to see, which helps anyone who finds color alone hard to distinguish. Not supported in Safari.
With Outlines On, the selected structure (here, the body of the mandible) gets a high-contrast outline in addition to its color overlay.
The Settings panel, with background color, structure naming, and outline controls.
Rotating the specimen
1
Open Alternate Views → Rotate Specimen
The specimen opens in a new browser tab in a 3D viewer.
Rotate Specimen is listed inside the Alternate Views menu.
2
Click and drag to rotate
Drag in any direction to orbit around the specimen.
3
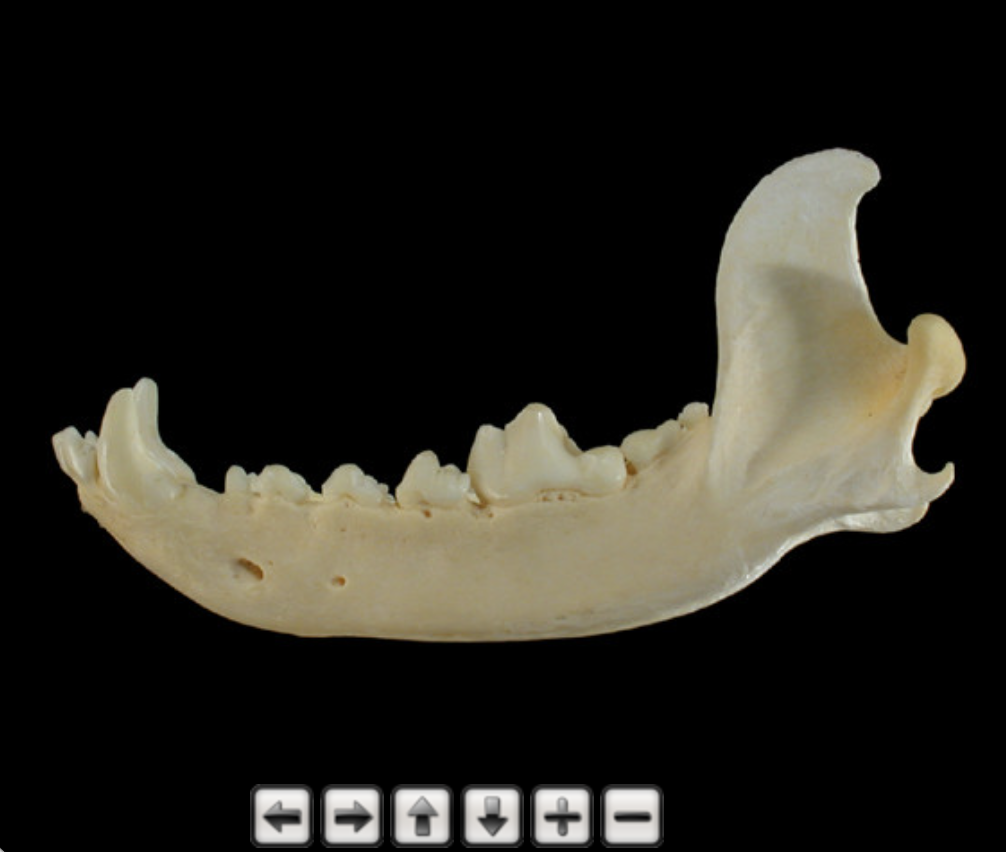
Use the on-screen controls
Below the viewer, four arrow buttons rotate the specimen left, right, up, or down, and the + and – buttons zoom in and out. These give you precise, click-based control as an alternative to dragging. Note: overlays are not available in Rotate mode.
The rotate viewer's on-screen controls: arrows to rotate, plus and minus to zoom.
Quizzes
GoalBy the end of this section, you'll know the three quiz types available and how to take and score a quiz.
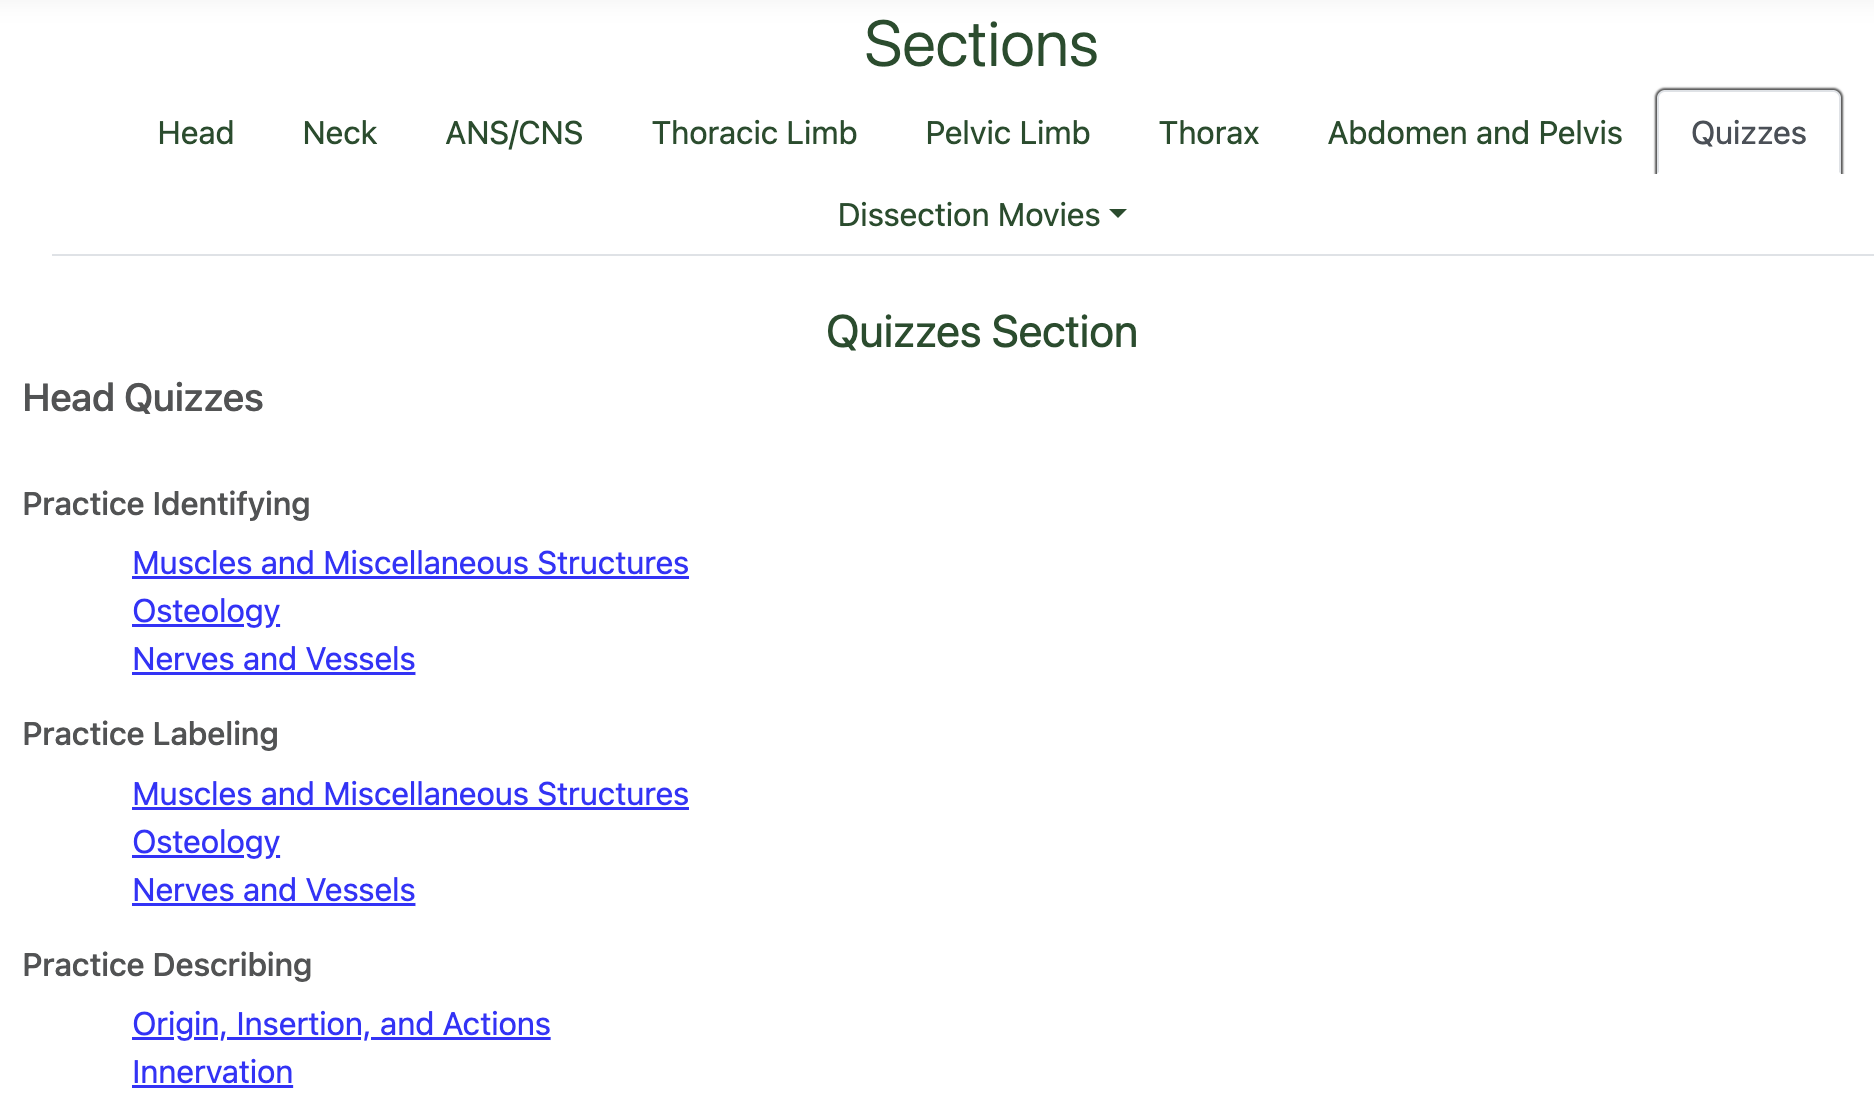
All VAA programs include self-assessment quizzes. Click the Quizzes tab on the Navigation Page to see quiz options organized by anatomical region. Scores are displayed at the end of every quiz.
The Quizzes tab, with quiz categories organized by anatomical region.
Quiz types
Structure Identification
A structure is named; click the correct location on the specimen image. Available in all VAA programs.
Structure Labeling
Fill-in-the-blank quiz: labels are hidden; you type the name of each indicated structure. VCA only.
Structure Description
Multiple-choice questions about origin, insertion, action, or innervation of structures. VCA only.
Taking a quiz
1
Select a quiz
From the Quizzes tab, choose an anatomical region and quiz type. For example: Head → Practice Identifying → Osteology.
2
Answer each question
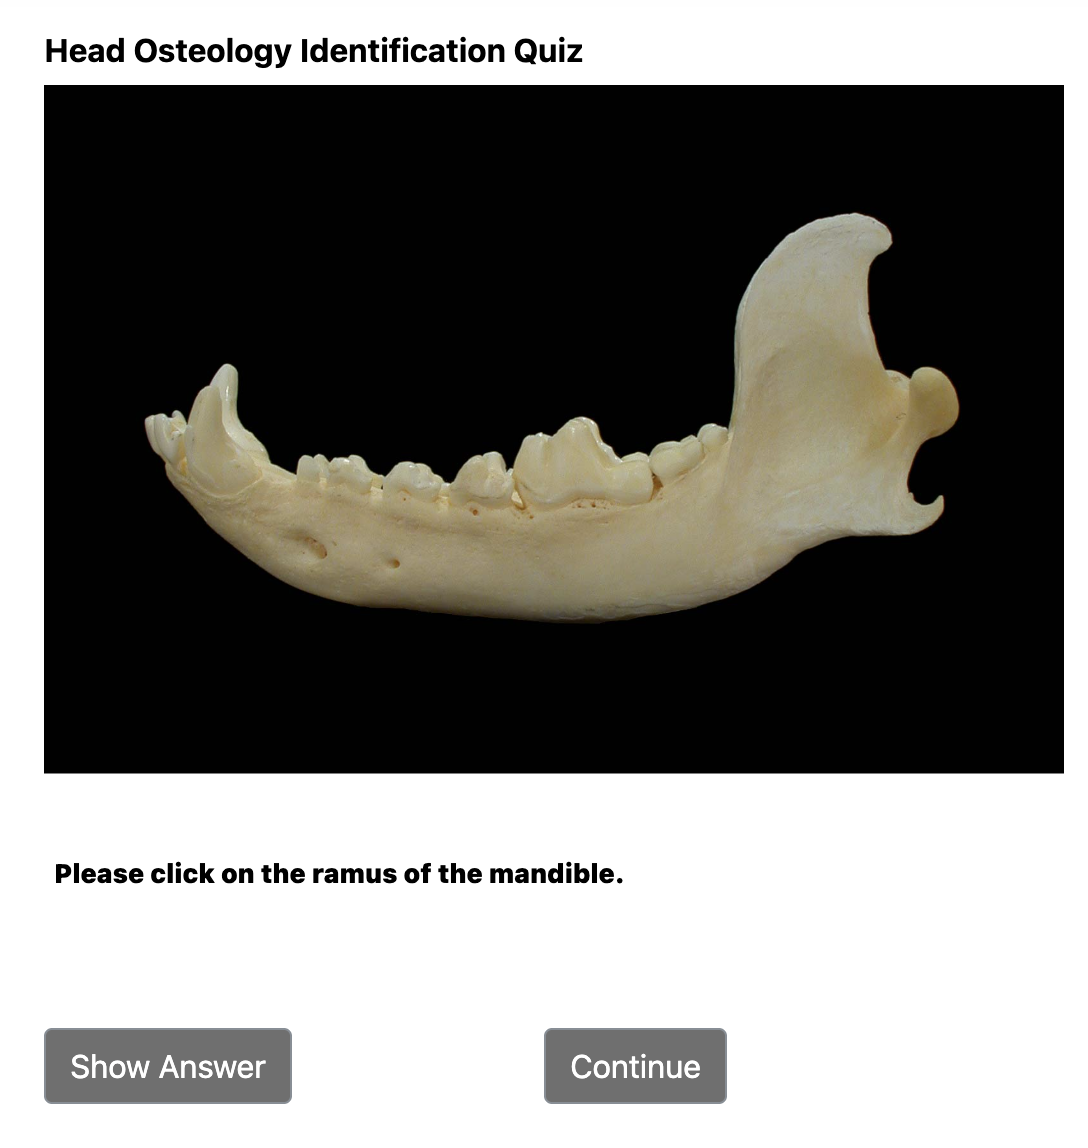
For identification quizzes, the prompt appears below the image (e.g., "Please click on the cerebellar fossa"). Click the correct location on the specimen, or click Show Answer to see where it is.
3
Continue and review your score
Click Continue after each question to advance. Your final score is displayed at the end. Use this for periodic self-assessment. Quizzes can be retaken as many times as you like.
A Structure Identification quiz question in progress.
Dissection
GoalBy the end of this section, you'll be able to find and follow dissection videos and step-by-step instructions.
VCA includes step-by-step dissection instructions and video demonstrations. Dissection content can be accessed in two ways: from the Dissection Movies tab on the Navigation Page, or directly from Structure Selection Pages.
Dissection movies
1
Open from the Navigation Page
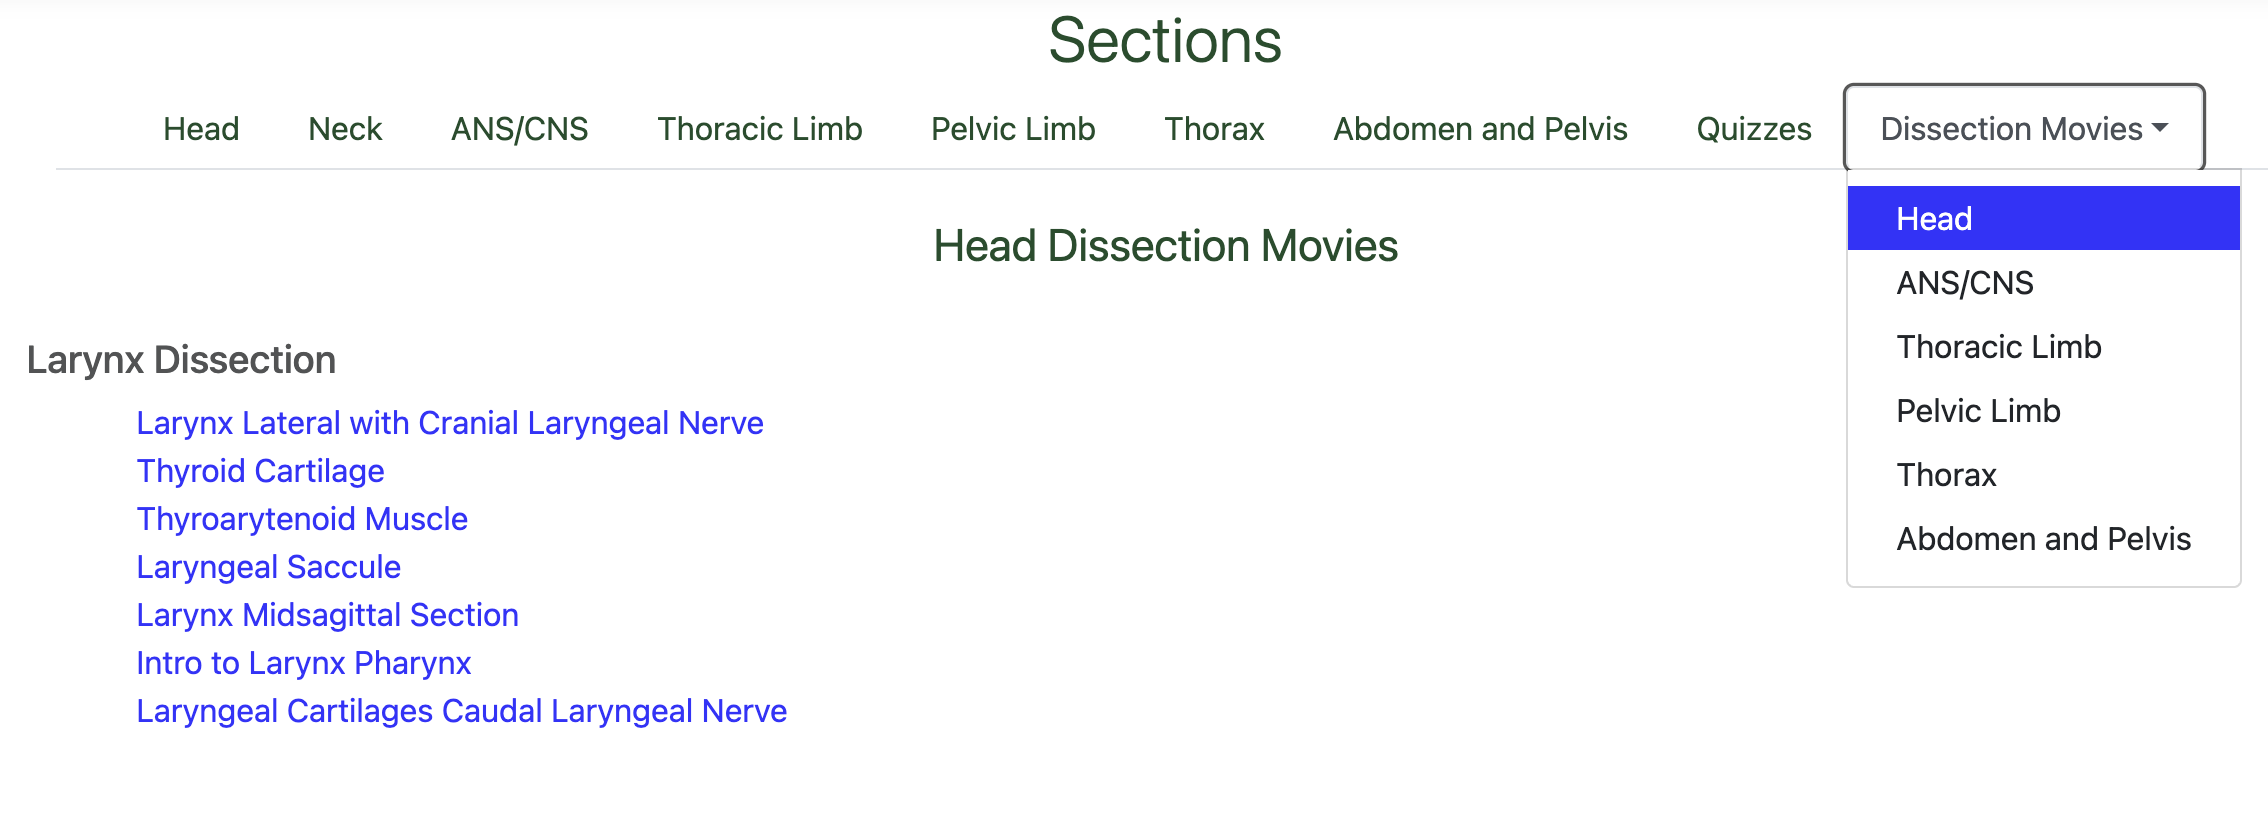
Click the Dissection Movies tab (the last tab on the Navigation Page). A list of available dissection videos is organized by anatomical region.
2
Select a video
Click any link to open the corresponding dissection video.
The Dissection Movies tab, with videos organized by anatomical region.
Dissection instructions on structure pages
This is different from the dissection movies above: instead of a video, the specimen image itself gets labeled overlays that walk you through dissection steps.
1
Open a dissection structure page
Navigate to a dissection region from the Navigation Page.
2
Click "Dissection Instructions"
At the top of the structure list, click the Dissection Instructions link. This displays step-by-step instructions in the description textbox below the image, and activates structure overlays showing each muscle referenced in the steps.
3
Follow along with the image
As you read each numbered step, the overlays on the main image indicate exactly which structures are being described.
Troubleshooting
GoalBy the end of this section, you'll be able to diagnose and resolve the three most common launch errors on your own.
Most errors occur during launch. All three errors below share the same solution: the program must be opened through your LMS, in a new tab. If you continue to have trouble, see the contact link at the bottom of this section.
Error
Invalid Request
This error appears after the splash screen when the program is not opened correctly.
Most common cause: The tool was added to the LMS without the "open in new tab/window" option enabled. When adding VAA to a course module, look for Load in a new tab, Open as External Resource, or Open in new window, depending on your LMS, and select it.
Also possible: You navigated to cvmbs.colostate.edu/vca4 directly in your browser. The program must be launched through your LMS.
Also possible: Your session timed out after being left open for a long time. Close the tab and relaunch from your LMS.
Error
Invalid Consumer Key / Invalid Secret
The consumer key or shared secret entered during LMS setup does not match your subscription credentials. Verify that both values were copied exactly as provided, with no extra spaces. If they still don't match, see the contact information at the bottom of this section.
Error
Invalid Date
Your institutional subscription has expired. See the contact information at the bottom of this section to renew.
Recommended browsers
VAA is tested and supported on:
Chrome (recommended)
Safari
Edge
Firefox
Still having trouble?Email our support team. Include your institution name, LMS type, the exact error message shown, and the browser you are using.